 Rovelanto
How to build a dog-apparel size range
Define measurement points, fit samples and grading rules before a private-label dog clothing range reaches production.
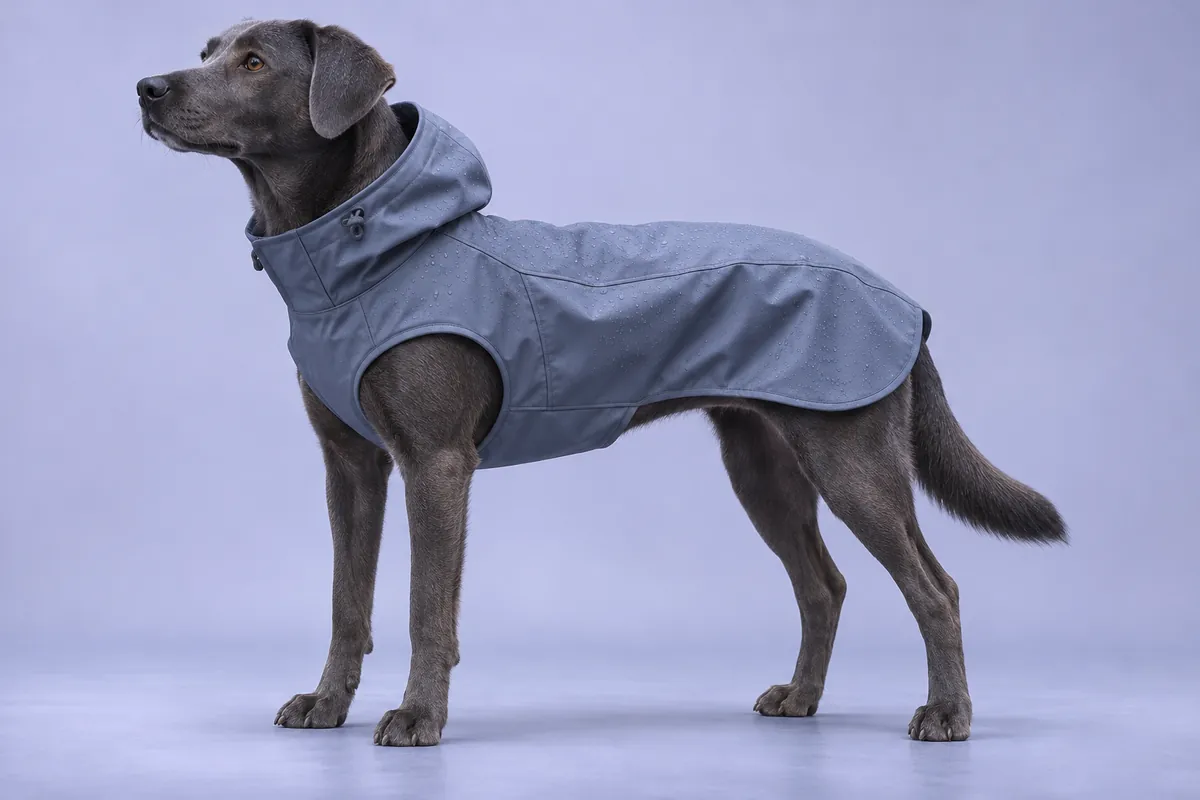 Illustrative collection concept
Build the size chart from repeatable measurements, movement checks and the actual selected fabric.
A size label is not a measurement
Small, medium and large are internal labels until a measurement table defines them. Begin with chest girth, back length, neck opening and underbody clearance. Add measurement diagrams and state whether the numbers refer to the animal or the finished garment. Mixing these two systems creates avoidable fit disputes.
Create a repeatable measurement method
Lay garments in a specified condition and mark the exact measurement points. Decide whether openings are measured relaxed, stretched or closed to a particular position. Give tolerances for critical dimensions rather than treating every point as equally important.
| Point | Decision to record |
|---|---|
| Chest | Circumference or flat width; closure position |
| Back length | Start and end landmark; collar included or excluded |
| Neck | Relaxed opening and usable adjustment range |
| Underbody | Clearance appropriate to the intended garment |
| Leg opening | Width, stretch and movement clearance |
Fit more than one body shape
A single sample can show that a garment works on one animal in one posture. It cannot validate a broad breed claim. Review standing, sitting and walking, with particular attention to rubbing, restriction and closure movement. Where fit evidence is limited, describe the garment using measurements rather than universal breed compatibility.
Grade the construction as well as the dimensions
Scaling the pattern changes seam positions, opening size, trim length and logo placement. A decorative patch that fits a large size may dominate a small one. Confirm a base size, develop the grading rules and inspect selected edge sizes before approving the complete range.
- Keep the approved base pattern version.
- Record chest and back grading increments.
- Review closures and trim in the smallest size.
- Check label and artwork placement across sizes.
Wash before locking the chart
Dimensional change can alter the final fit. Wash the selected fabric and assembled garment under the proposed care procedure, then compare the important points again. Update the specification with the accepted tolerance and test condition. A supplier quotation should refer to the same fabric and pattern version that passed review.
Use the edge sizes to catch grading errors
In a hypothetical small-to-large range, the middle sample sits neatly over a harness. The smallest sample looks correct on a table, but the harness opening moves too far forward when the chest strap is adjusted. The largest sample clears the lead opening but the front hem pulls during a turn. Both problems can be missed if the grading decision is based only on the middle garment.
Mark the same seam references and opening center on all three garments. Record the wearer dimensions, harness model and adjustment setting next to the garment dimensions. If one edge size fails while the other two fit, revise that part of the grade or pattern instead of shifting the whole range. Ask for a new sample in the affected size and update the chart only after it is checked.
- Use a consistent measurement point.
- Record adjustment settings with fit photos.
- Retest the size that changed before release.
General product-development guidance. Confirm the selected construction, test scope and destination-market requirements for your project.
Editorial policy